06 September 2011

Oh Happy Day

One would think there aren't very many perks to living in a small town, but I totally disagree in a non-biased way and this proves it...
What do you get when a boutique, who sells their adorable, over-priced pottery barn style home decor inside the pharmacy, has a sidewalk sale that no one knows about?
Delight aaaaaallllll over it.
That's right.
$5 per bag, whatever you can fit in it.
$5 for whatever you can't.
Um, are you sure you only want $5 for this?
There were so many cute things, I couldn't grab it all quick enough. The best part was that it was just me. (...well, almost. two other women, but whatev) Price tags were still on everything.

For $60 total, I got all this...
- Beautiful cream colored large ceramic bowl with the matching pitcher ($59)
- 4' 5" brand new decorative Christmas tree that sits inside a lovely piece of pottery ($120)
- Large high-quality wooden basket ($55)
- Small off-white rustic wired basket ($40)
- Fancy porcelain Santa Clause ($80)
- 2 Glass decorative bowls/vases ($30 ea)
- Glass tiered candle holder ($25)
- Wooden decorative house ($40) [sounds odd, but it's super cute. I'll have to post a pic]
- Beautiful, sparkly, Christmasy table centerpiece ($60)
- Muslin tablecloth ($50)
- Table runner ($30)
- 8 faux pears ($2 ea)
- 4 cute little xmas tree ornaments ($6 ea)
- Wooden letter 'A' ($8) - [for Averi]
- 3 small faux potted plants that sit together on a rectangular plate ($25)
- 8 classy candlesticks ($30)
- Fancy candlewic trimmer ($10)
- Reading glasses that fold up in this mini suitcase thing ($15) [I don't even use reading glasses, I just thought they were cute cause they were small, ha.]
- Wooden picture frame ($25)

I can't believe it either.
Did I luck out or did I luck out?
I should have taken pics, but I packed it all up in boxes over the weekend (except the pitcher)- now it will be like Christmas when we unpack at our new place. Yes, we're moving. Which is why I spent $60 on useless home decor. New house means new space, means new ideas, means new decor! Get my drift? If not, you'll see for yourself as I post pics of the new pad.

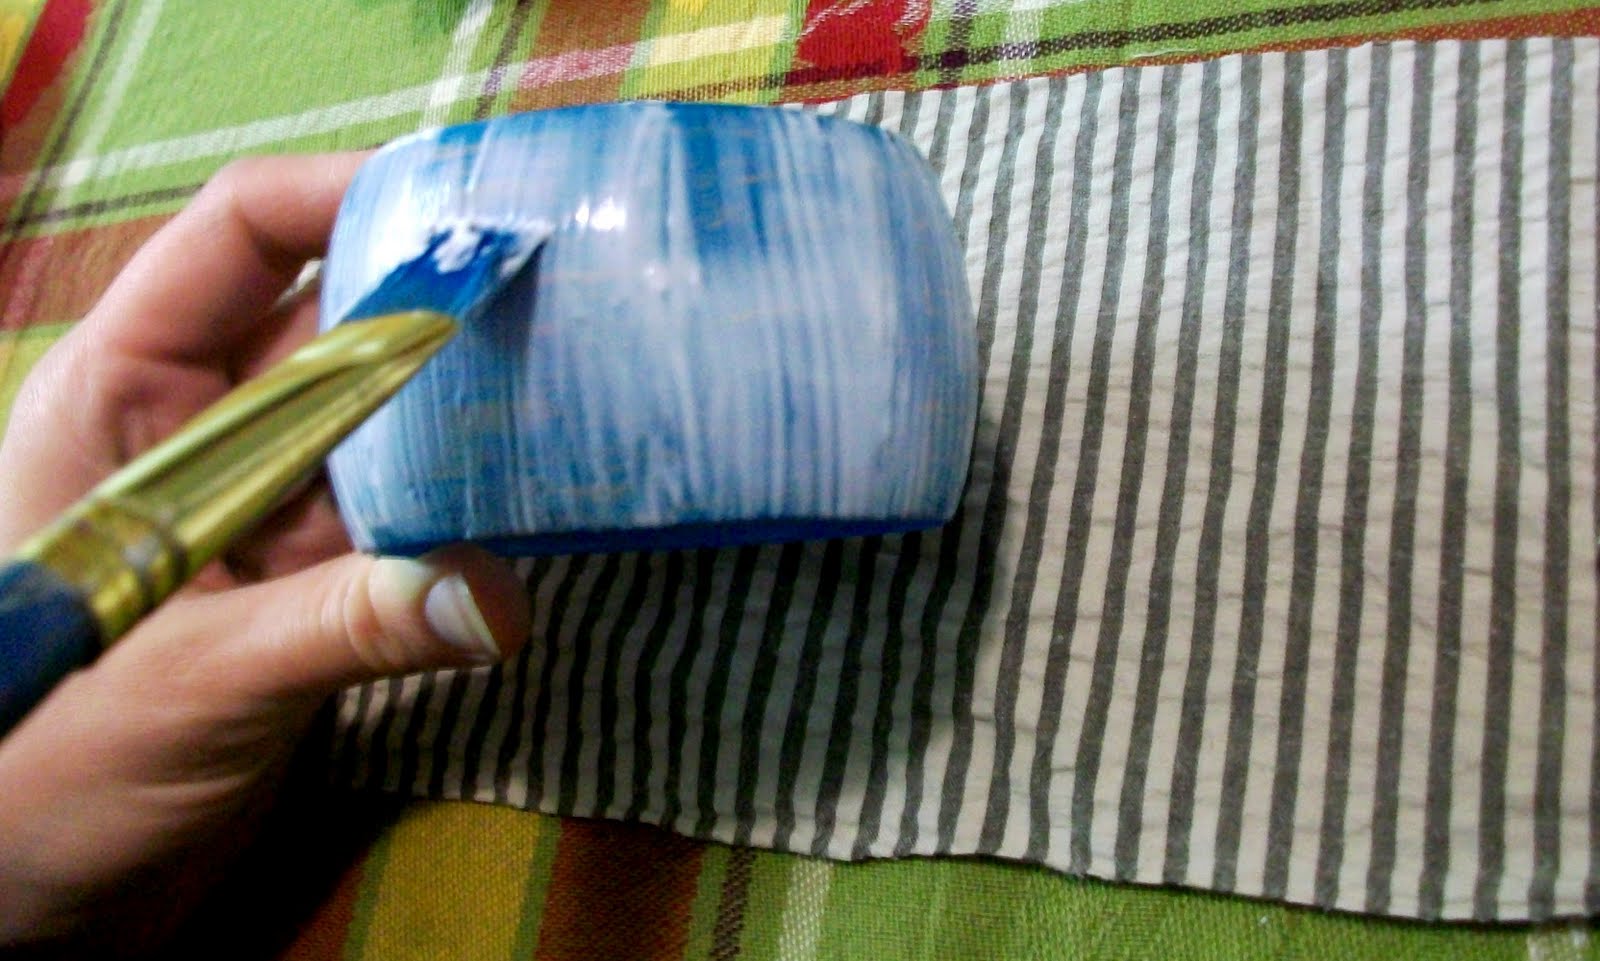
...got something great to post tomorrow. A lil som'n som'n I made Saturday night while the kids were sleeping. It turned out just the way I imagined it.

Til next time

08 July 2011

Stayin' Alive

My friend, Heather, wrote this and I'm stealing it from her blog. It's the only thing that perfectly describes my absence...

Staying Alive by: Heather Shill

Well, you can tell my the way I neglect my blog
I'm a wanted mom, and I miss my dog.
Kids are loud and it's gettin' warm
I can't hear when I'm on the phone.
And now it's alright, that's okay
I dare not look the other way
Please just try to understand
My house looks this way thanks to little hands.
(Chorus)
Whether you're a brother or whether you're a mother
you're stayin' alive, stayin' alive.
Wake me, am I dreamin'- will someone stop the screamin'
Oh, I'm stayin' alive, stayin' alive.
Ah, ah, ah, ah,stayin' alive, stayin' alive
ah, ah, ah, ah, s-t-a-y-i-n'------a-l--i--v--e (and fade)

I found myself singing this yesterday (with her lyrics) as I was washing dishes. lol.
thanks Heather, you're so cute. and such a good mom.

PS. I do plan on posting still. Stay tunned.

17 January 2011

Fabric Bracelets

You can easily make your own bracelets with some fabric and sass.
These plastic bracelets are cute for someone somewhere I'm sure, but I think they look much better when personalized :)
All you need is fabric, fabric glue, and a bracelet for recovering.
Start by cutting out a rectangle piece of fabric. (make sure it is long enough to cover the whole thing. It's better to have it too long than too short -you can always cut off the excess later.)
Paint a layer of fabric glue right on top of the bracelet, then slowly wrap the center of the fabric around making sure it sticks to the glue, pressing out any bubbles in the fabric.
Once it's wrapped around it completely, cut off any excess fabric if necessary.
Paint a layer of glue on the inside of the bracelet and wrap the fabric, one side at a time, underneath it. Dab a little glue over the raw edge on the inside to make sure it doesn't fray later on.
Then decorate as you wish!
I glued some lace around the whole thing, then made 3 fabric flowers and hot glued them over some tulle.
This one I used ribbon and glued a lacey ruffle over it by sewing a gathering stitch. Then used some glitter glue to sass it up a bit.
These were definitely fun [and easy] to make.

16 January 2011

2011 Planner Cover

Do you have a 2011 planner yet?
My sister said she needed a new planner for xmas, so I went to the store to look for one and they were all so LAME! The fanciest one was plain black with a zipper around it. Inside this thick black planner was 12 sheets of paper - one for each month. pathetic. I've seen better ones out there, but not in my neck of the woods. slim pickins here.

So I decided to get her one that had the kind of stuff I would want in a planner: monthly & weekly calendar, to-do lists, address & contact pages, the works! It could be as boring as it wanted on the outside because I would fancy it up :)
With some patterned cotton fabric for the cover, felt for some cushion, jewels, tulle, and lace for charm (which is totally appropriate since her name is Lacey) and with the help of this rotary cutter and guide, I made a personality for that boring planner...
...and almost kept it for myself.
It even has a pocket on the inside! If she uses sticky notes as much as I do, then she'll appreciate this here pocket. Threw a pen in there too because sticky notes are useless without that, duh.
Tie some colorful tulle around a paperclip and it's great to use as a bookmark to take you straight to your schedule.
I'm definitely going to make myself one. And a few others as gifts if I have time. If I have the patience, I'll create a tutorial so you can make your own.
*Another fabulous feature is that you can take it off, wash it, and use it for the coming years. It's just a cover :) (I wouldn't put it in the dryer though in case it shrinks)

15 January 2011

Vintage Magnets

Who doesn't need more magnets? Yes, I know they say it's tacky to keep your refrigerator cluttered with papers, lists, and blah blah blah... but I say with cute magnets, who cares? I'll have one disappointed 5 year old if I remove one fridge-worthy paper creation even so much as an inch! And no, I don't plan on using all these magnets strictly for my kitchen kindergarten display board...they make a great little gift.
All you need is some scrapbook paper...
Mod Podge, scissors, round magnets (i bought an 18 pk at walmart for under 3 bucks) , and round accent gems. You know those flattened marble things used for...not really sure what they're used for, but I see them everywhere. ?? You can buy a pound of them at the dollar store. They have all different shapes too.
This scrapbook paper was inspired by vintage nursery rhymes, but it'd also be a good idea to hit up a thrift store and buy an old vintage book with pictures or shakespeare quotes. Same idea.

Place the flat marble over the picture you want to capture, then trace around it. When you cut it out, you'll have to cut smaller than the trace-lines since the edges are rounded and you don't want the paper sticking out the backside.
Paint a thin layer of Mod Podge on the flat side of the marble.
Then place your picture face-down on top of the glue. The flat marbles I used were not perfectly round, so I had to make sure to line up the shape just right.
Make sure there are no bubbles in the paper, then paint another layer of Mod Podge over the backside of the picture. Lay flat and let dry completely.
Once dried, place a good amount of hot glue on the backside...
then place a round magnet right on top. Press down and hold until hot glue is hardened.
That's it!
You can easily create custom magnets to suit your style.
It's like looking at a mini picture blown up or reading a mini poem through a magnified glass. MARVELOUS! :)
To give out as gifts, I cut out small rectangled pieces of fabric and sewed super simple bags.
Fill it with magnets and tie some lace or ribbon around it.
Each one held about 5 magnets.
i enjoy cute ways to give simple gifts :)

14 January 2011

Chocolate Gifts

I know, I know, Christmas is over, but I haven't had a chance to post about super easy, delicious chocolate gifts yet!
...just a simple, wonderful way to decorate the average [large] chocolate bar.
A little scrapbook paper can really go a long way. I made these paper flowers from a tutorial I found on another blog. (I'll post the link later when I remember where it came from. Sorry.)
I really like this idea because you can use it for any occassion. Great for a 'just saying hello' gift to a friend or a side gift to stick in next to a birthday present.


chocolate and paper flowers make me happy.

Canvas Painting


This was inspired by a picture I saw in a catalog. It was on only one canvas and looked a bit different, (not to mention over-priced), but my imagination grows. (pun intended) My husband is standing behind it holding them together, so that's why it seems crooked :)

My sister asked if I'd paint her something for her newly re-decorated living room (which turned out muy eye-pleasing) and so I thought it'd be a good idea for her xmas gift. I always underestimate how long a painting takes, (because of 3 cute little interruptions) so when crunch time came around, I stayed up until 2 am three nights in a row to finish it. (was actually kind of fun because my hubby stayed up with me and we visited while I painted) I was just glad I got it done in time to bring it down with me for the holidays.
...and my favorite part...was knowing (or believing) that she really did love it.
Next time I go to her house, I'll have to take a pic of it hanging on the wall.
Is it wrong to love your own work? Cause I love it. (I guess because it turned out much better than I thought it would).

15 December 2010

2-Way Radio Covers

This tutorial may not seem useful to many, but you can use this basic idea to make a rectangle cover for anything. My husband has some walkie-talkies and whenever we go camping or hiking, he brings them with us just in case we split up. He's VERY careful with his stuff and likes to keep everything in pretty-much-perfect condition. He sometimes thinks it's necessary to remind me not to scratch, drop, or throw things. HA! Last time we were out, I realized these little guys need covers to keep them from being scratched. (or dropped or thrown)


I used camouflage fabric and gray felt for the inner lining.

I just estimated how much fabric I would need by cutting out a square around the bottom

and did the same thing for all other sides.

Then I used the felt cutouts as patterns to cut out the same shapes from the camo fabric. Make sure to cut out two of everything since there are 2 radio's, duh!

Pay no attention to the bad sewing job. It was a bit too big, so I had to adjust it a couple times. (but all those seam lines give it extra security which is good.)

When sewing this, start by sewing the sides together first (inside out, of course), then sew the bottom square to it. It takes some maneuvering around the corners, but just go slow. Then turn it rightside in and see if the radio's fit. If it's too loose, you can turn it inside out again and sew a little closer in. It's easier to adjust if it's too big, rather than too small.

You will do this same concept with Camo fabric. Then simply slide the felt liner into the Camo cubby, fold the edges inward toward each other like in the picture, then pin in place.
I added a strap to lay over the top to keep it secure. I did this by cutting two rectangle piceces of Camo a couple inches long. I also added a layer of felt in the center to make it a little thicker. Sew around the edges, then pin the strap in place before sewing around the edge of the cover.
Sew around the edges and voila!

Oh, then add some velcrow. I added velcrow by hand stitching it on.

There you go. Two covers for 2-way radios.


My husband really likes them and that makes me happy.

07 September 2010

Mod Podged Picture Frame

Goodbye plain wood!
Hello color!
First, cut small squares to fit around the frame you're going to cover and place them to your liking.
Then paint a thin coat of Mod Podge on one side of the frame and place the squares on top of the glue.
Repeat this over all 4 sides.
Once you get them where you want them, paint a layer of Mod Podge over the the top of the whole frame to seal the squares in place. Let it dry completely.
Add in your picture, attach the backing, and DISPLAY your beautiful Mod Podged frame!
*My squares aren't perfectly even, I know. I like the beauty in imperfection.