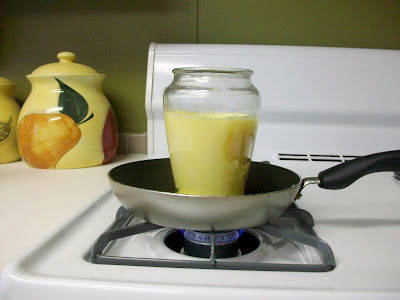
candlewicks and jar...check!
This blog I read (really don't remember whose) said you simply dip the little metal part in the melted wax...
...and stick it down in the bottom center of your new glass. Once it dries, pour in the wax and it will stay.
Simple enough, right?
WRONG!!!
Once the hot wax touches it, it melts again! I should have known.
This is where the jimmy rigged part comes in...
I used bamboo skewers to hold the little metal knobs down on the bottom of the glass while snuggling frozen veggies to the sides to get it to cool faster. The hardest part was trying to get the stupid wicks to stay straight in the wax!
So once I got the wicks to stay a little straight, I used the skewers to hold the wicks upright while it cooled completely. (I dipped my finger in the hot wax and put a dab on each side of the wick where it meets the skewer so when it dries, it would hold it in place and I could let go.)
Once you get it just right, DON'T BUMP IT! like i did.
Then I used my new nifty candlewick trimmers (that I pretty much got for free at that sidewalk sale) to trim down both wicks once it dried- which took another 30 minutes
I had a little wax left over and made a mini one in a tiny ketchup bottle.
Once it all cooled, I was happy.
I'm sure those of you, who actually know how to make candles, have some neat little tricks and/or gadgets to make this easy and are probably laughing at this post, but idc.
Jimmy rigged or not, it worked out eventually.
:)


No comments:
Post a Comment